

Gear SpecialistBundlingMusician
Pro Gear Advisers
.866-498-7882
Guitars
Guitars
Amps & Effects
Amps & Effects
Used & Vintage
Keyboards & MIDI
Keyboards & MIDI
Drums
Drums
DJ Equipment
DJ Equipment
Basses
Basses
Recording
Recording
Live Sound
Live Sound
Accessories
Accessories
Mics & Wireless
Mics & Wireless
Music Software
Music Software
Lighting
Lighting
- Popular Brands
Band & Orchestra
Band & Orchestra
Platinum Gear
Platinum Gear
Deals

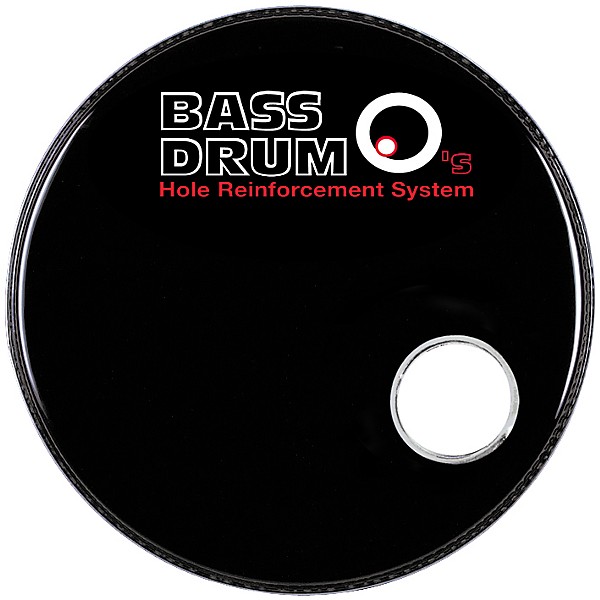
Bass Drum O's Bass Drum O's 4 in. Chrome
$13.99
6-month special financing^ + $0 back in Rewards** Limited time Learn More
Save on orders $199+ and get expert advice from a Gear Adviser
Need Help?

 Description
For venting or porting your drum or drumhead. Enables easy mic setup. These Drum O's come 1 per pack. Drumhead cutter sold separately.

Featured Articles
Reviews
4.4
5 Reviews
100%
of respondents would recommend this to a friend

Filters
Best Uses
- Back-Up1
- Concerts1
Cons
- Alcohol swab stripped the coating from drum head1
Describe Yourself
- Experienced2
- Professional Musician1
Pros
- Easy To Use2
- Functional2
- Good Quality2
- Improves Sound1
- Easier mic placement for sound engineers.1
Reviewed by 5 customers
Love this drum set small but big big and sound great kick
submitted6 years ago
byD
fromHouston Texas
Everything is good about this set is small compact and sound big I even use the snare I didn't think I would love to snare drum but it's great
Great little accessory
submitted6 years ago
byGabester
fromWisconsin
Sturdy and snug. A nice accent to the rest of the chrome. Take your time cutting or melting the hole...I tried to melt, but ended up cutting it out, then carefully using a lighter to slightly melt the edges to prevent tears before attaching the Drum O.
Don't use the alcohol swab on coated heads!
submitted7 years ago
byMark Drummer
fromSt. Louis, MO
Just a warning if you plan to port a coated head. Do not use the alcohol swab. As you can see in the video, it will separate the coating from the head. This is a 26" head with a vintage logo, and will be almost impossible to replace. Thanks (not really) Drum-O's.
follow instructions!
 Verified Buyer
submitted7 years ago
byErik
fromundisclosed
Nice look and protection for your port hole. Take the head off when installing!
Works extremely well with a little patiance
submitted17 years ago
bythismonsterlives
fromEast Coast, USA
1st off this item does infact have instructions, they are under the hang tag card along with an alcohol swab to clean the area where the adheasive will go. Once you have the hole cut wheather you used the optional hole cutter or used a razor knife to cut the hole it's important to know that the ring halves snap together like putting a tire on a rim. So start one edge off and work your way around. You can use a flat blade screwdriver or a paint can opener to push that lip into place all the way around. Once you do that it will be permanently installed without a chance of seperating or vibrating. Take your time and you will not be disappointed. This is an A++++++ item.
- Previous
- 1
- Next
Q&A
Have a question about this product? Our expert Gear Advisers have the answers.
No results but…
You can be the first to ask a new question.
It may be Answered within 48 hours.
Be the first to know about exclusive offers, tips and more.

866-498-7882 English
877-687-5402 Español